Music Spacing in Finale

Customize your spacing.
Turn off Automatic Music Spacing.
Finale automatically spaces your music so that things stay legible, but you can disable this functionality to fully customize the way your music looks. From the Edit Menu on a PC or the Finale 2014 Menu on a Mac, choose Preferences > Edit. Uncheck Automatic Music Spacing and click Apply. Your music will stop automatically adjusting within each measure. To reapply automatic spacing to part of your piece, select the music and press CTRL-4 or CMD-4.
Alternative options.
Modify your music spacing rules.
To apply a new type of music spacing, choose Utilities > Music Spacing > Apply Music Spacing to Selected parts/Score. You'll be able to use the Apply Music dialog box to choose a new type of music spacing by clicking the buttons at the bottom of the box. Experiment to find an option that works best for you.
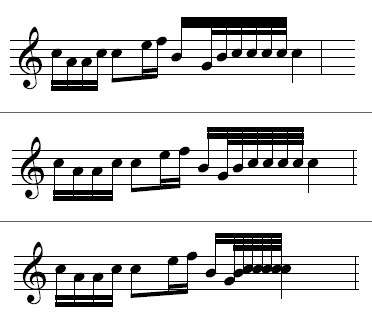
Customize your spacing.
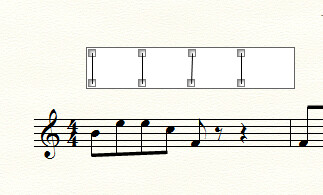
Use the Measure Tool to change each beat.
Choose the Measure Tool and double click on a measure to bring up the Measure Attributes dialog box. Choose Using Beat-Chart Spacing from the Position Notes drop-down menu. This reveals a second handle on the barline. Click this handle to access additional handles for modifying the spacing of each beat.
Organize your systems.
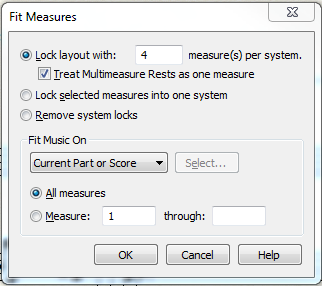
Use the Fit Measures dialog box.
Press CTRL-M or SHIFT-CMD-M to bring up the Fit Measures dialog box. Here you'll find options for locking a certain number of measures per system for the entire selected section or the entire piece. You can also consolidate a selection into a single system. Alternatively, move individual measures between systems using the Measure Tool. Press the Up Arrow or Down Arrow to move selected measure(s) to a different system.
Want more Finale tips?
Subscribe to the Finale Newsletter and get them delivered to your inbox
